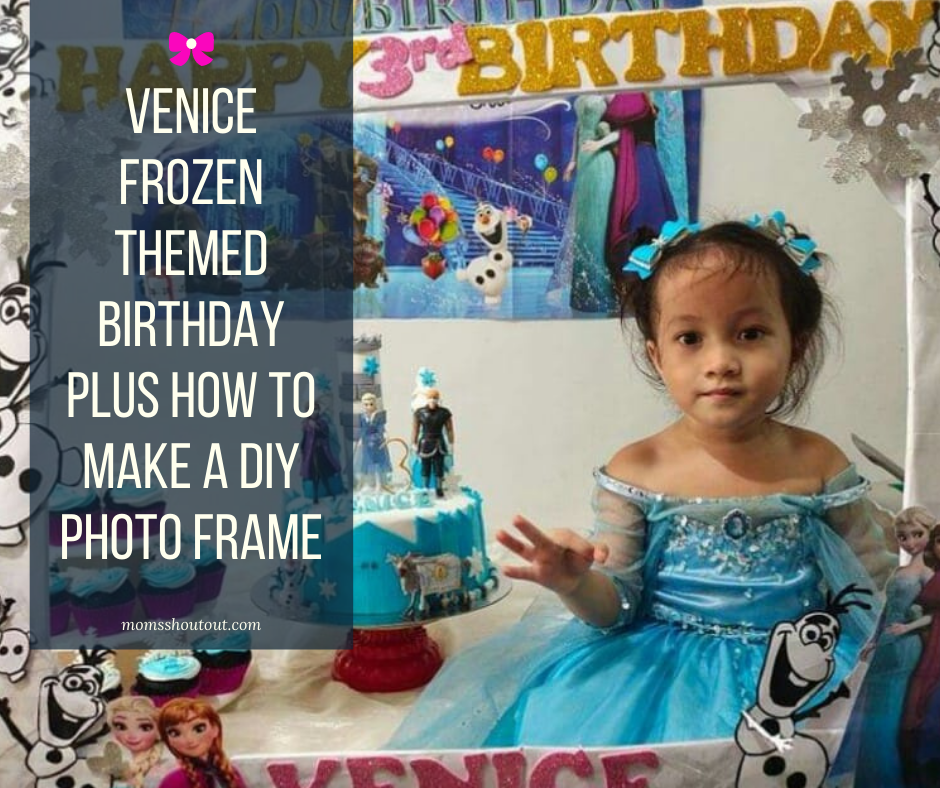
July 2017, when I gave birth to my sweet little girl. Time really flies so fast! I just can’t still believe that she’s already 3 years old. We celebrated her 3rd birthday in a very simple way and with limited guests. Actually, though it was her third birthday, it was the second celebration that I came up with a theme. The first was on during her 1st birthday celebration which is Hello Kitty Theme, this time a Frozen Themed Birthday since she loves the gang of Frozen movie especially Elsa and Olaf.
So, with great delight, I am sharing below Venice Frozen Themed Birthday Celebration plus a Do-It-Yourself Photo Frame.
The Cake and Cupcakes
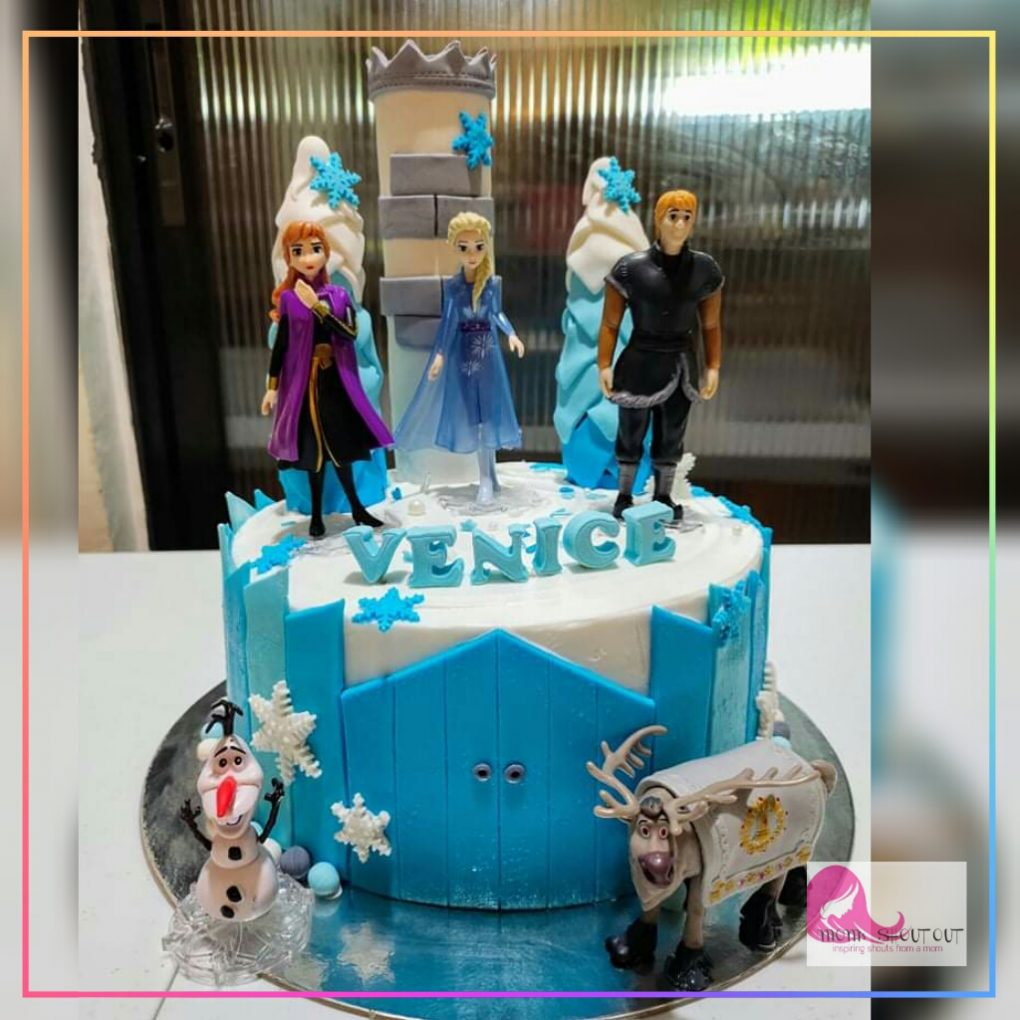
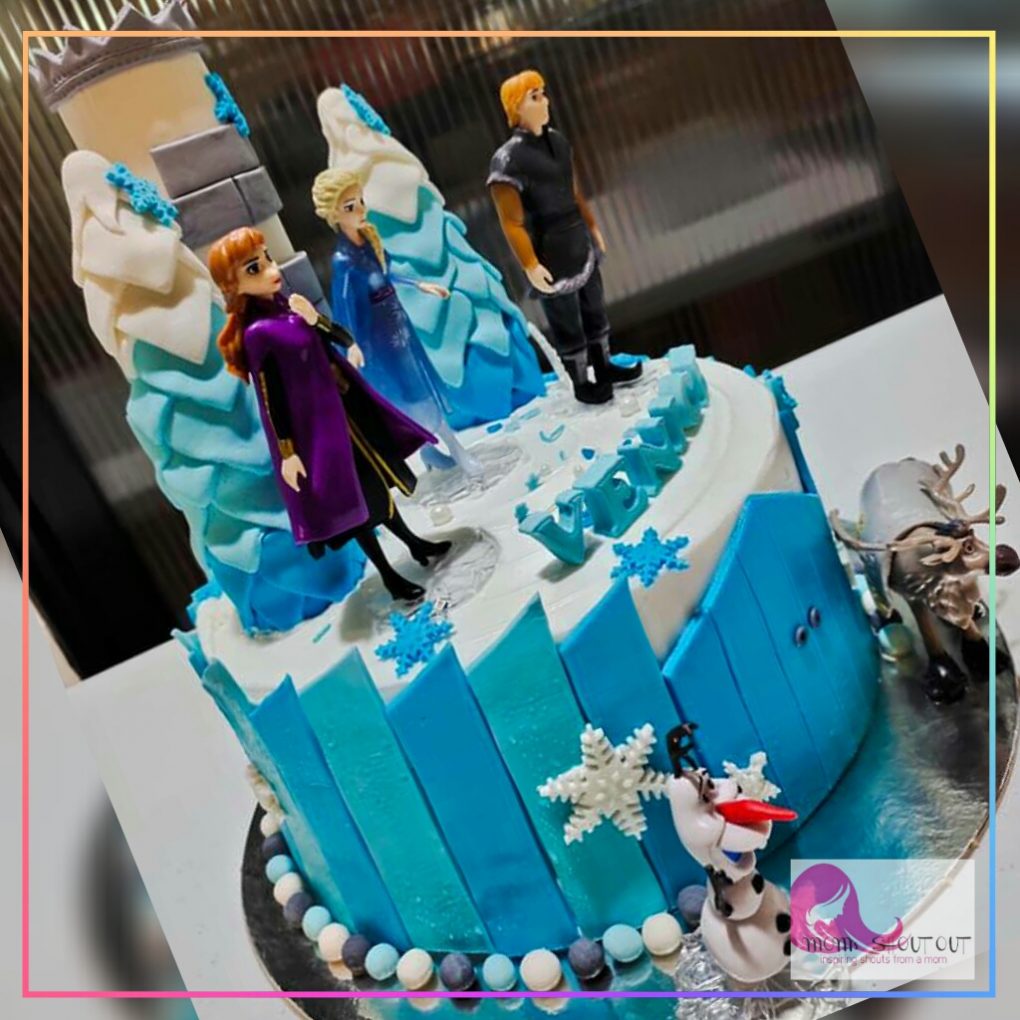
GT Delight’s Cakes & Pastries Shop was the pâtissière behind Venice amazingly beautiful and tasty Frozen Cake and Cup Cakes. It’s a chocolatey moist cake with mixed frosting – fondant for the sides of the cake. Instead of making all the toppers edible, only the snowflakes, white and blue tree and the caste post are edible, I bought Frozen Gang toys via an online shop so that my little miss can play with them. I so love it, all are perfectly decorated and baked. It was totally a real combination work of love and art.

I strongly suggest you order at GT Delight’s Cakes & Pastries Shop, the price is reasonably affordable.
Venice OOTD
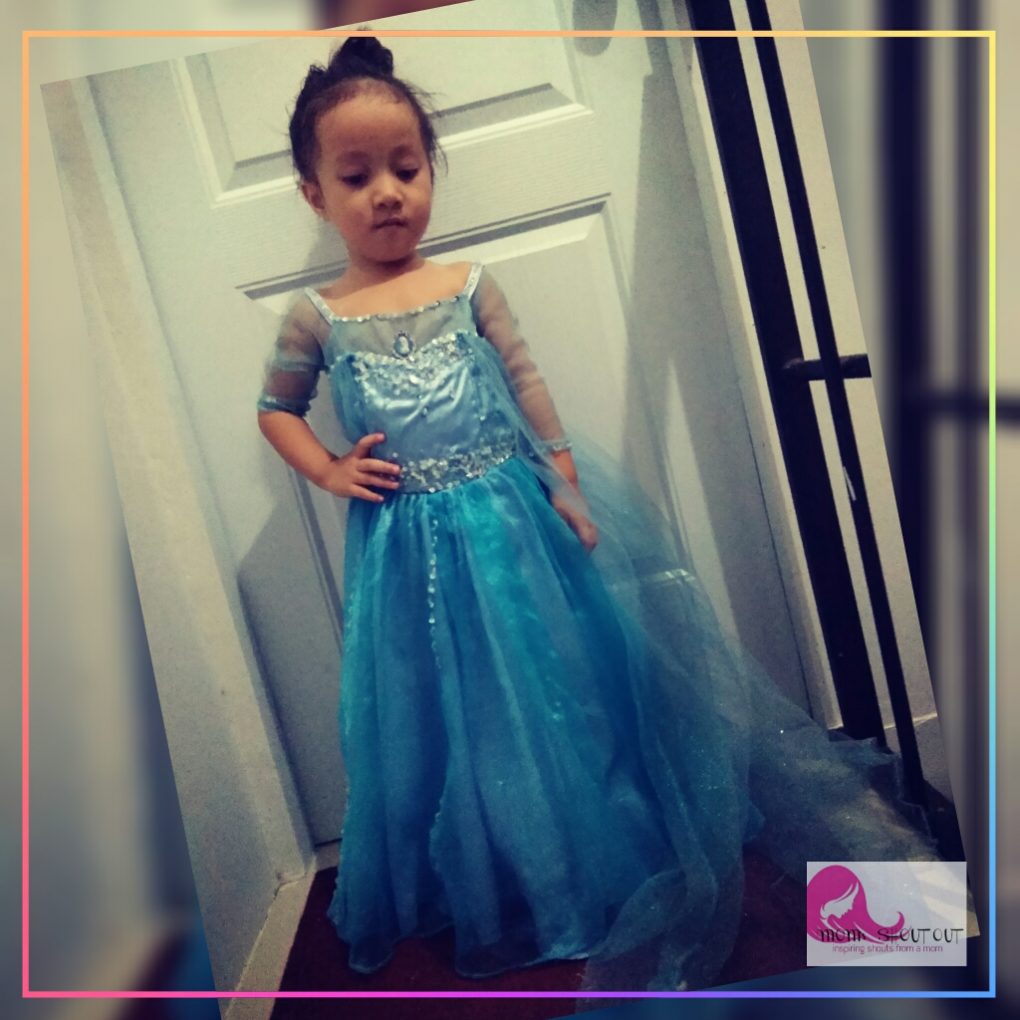
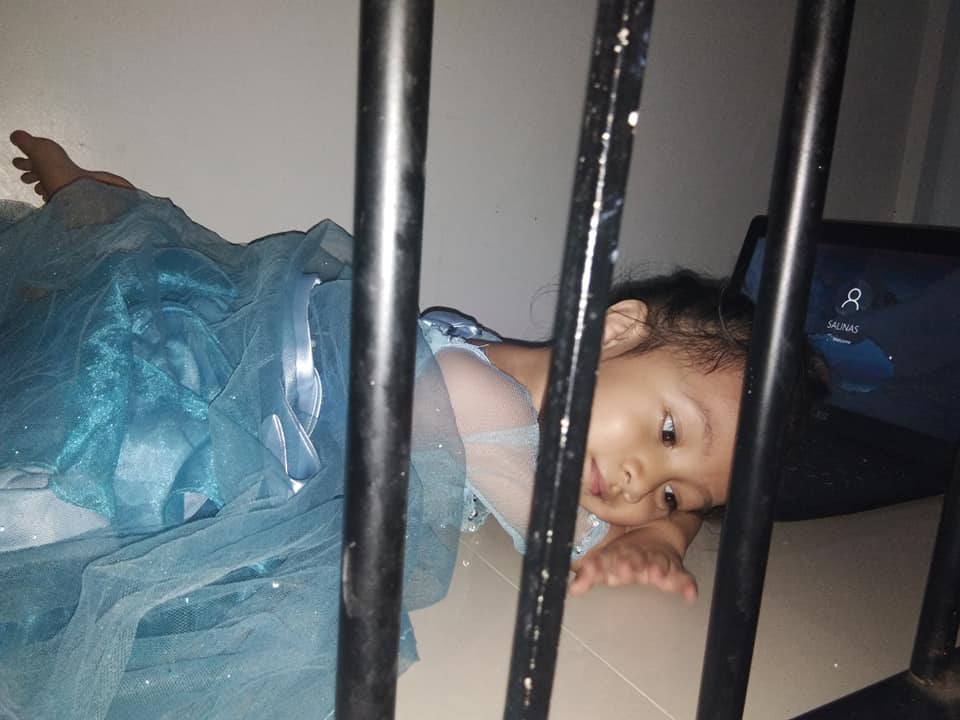
To match with the birthday theme, I decided to let Venice wore her Elsa inspired gown that I bought online. I made an inspired Frozen Hairbows for her hair accessories. She totally a princess on her special day.
The Foods
It was only an intimate home celebration where visitors are family, friends and most are kids from the village block. Served home-cooked food except for yum burgers which we bought from the country’s top food chain. A simple set-up yet, worked out of love especially by mom-in-law’s effort on the table skirting and cooking of foods served.
Last but not the least, is my DIY photo frame. Below is an easy tutorial on how to make Do It Yourself Birthday Photo Frame for the photoshoot.
DIY Photo Frame Tutorial
Materials:
- Used Cardboard
- Glue gun and stick
- Scissors
- Cutter
- Ruller
- Pencil
- Bond paper
- Glitter paper
- Printed Decorations
First Step – Make four pieces rectangle-shaped out of used cardboard for the frame base. Feel free to decide the size of your frame. Slant cut every edge of the cardboard and connects each other using glue to make a base frame.
Second Step – Since it is used cardboard, wrapped it with bond paper or decorative sticker to look better. You may decide whatever color you wish to cover depending on your picture frame theme.
Third Step – Decorate it with embellishments matching to your birthday theme. For this project, I cut out the frozen photo from a candy wrapper (recycling is great for this kind of project). I use glittered foam for the letters and printed Olaf and the gang photos.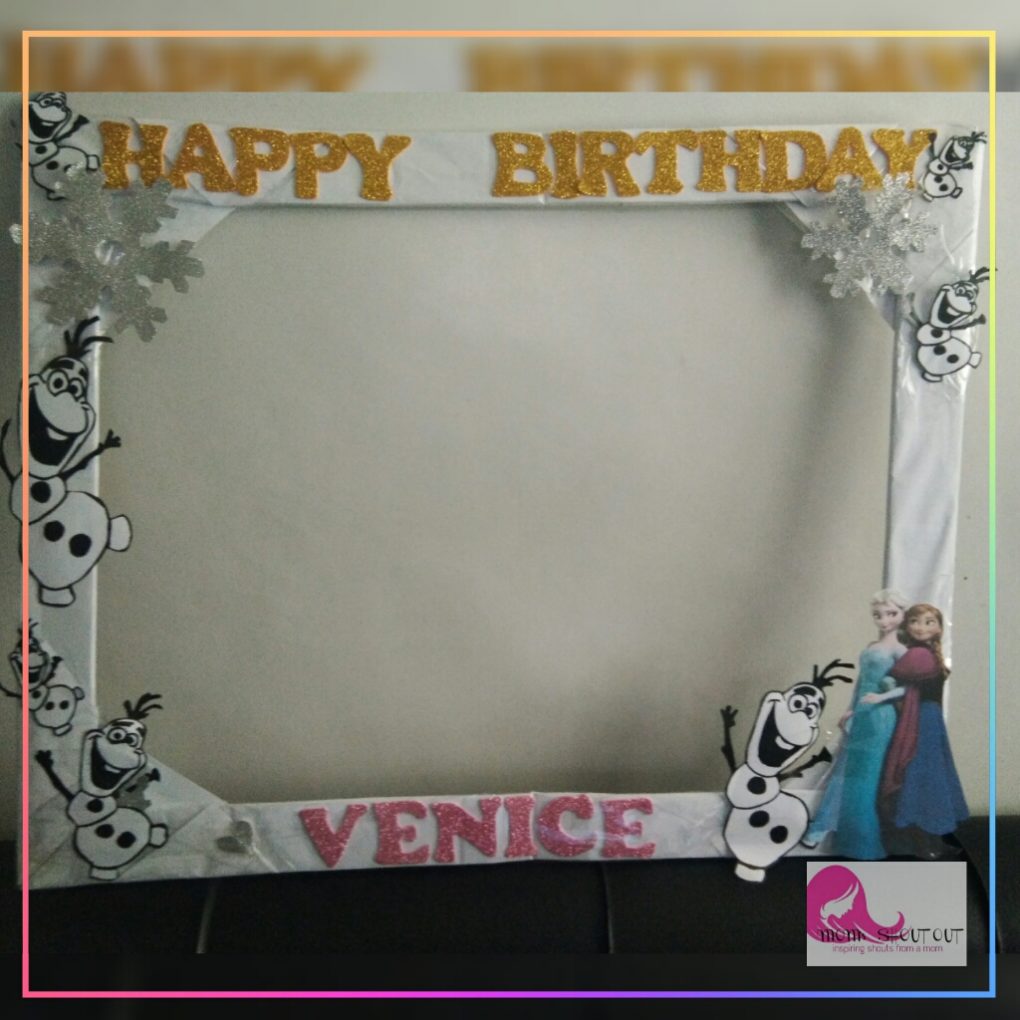
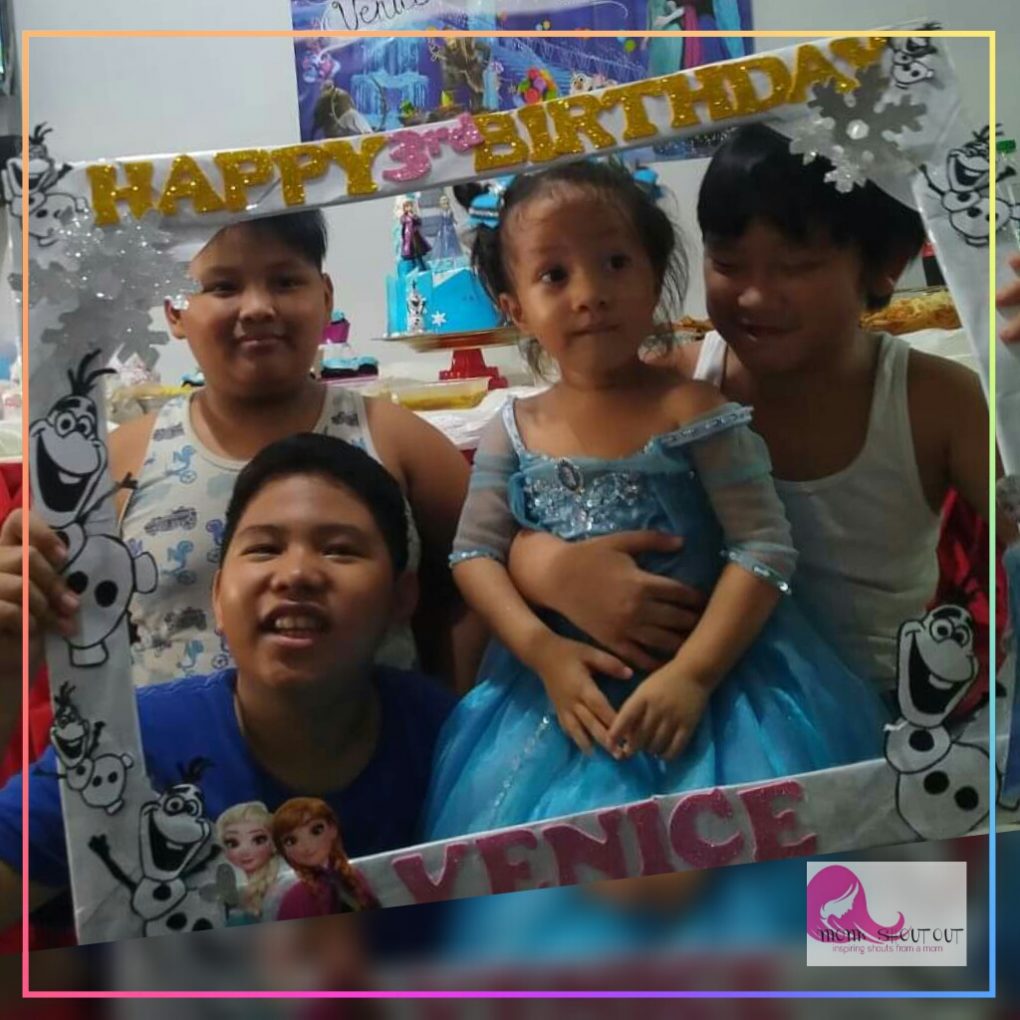
That’s it! You can now strike a pose with your family.

Ang galing naman po ng pagkakagawa niyo po dito eh talagang less gastos at recycled material din po ang mga ginamit. ?
Basta diy na theme biglang lumalabas ang pagiging creative natin dahil mas pinabongga pa ang itsura nito kesa umorder ka online hindi naman minsan makuha ang style na gusto mo kaya ako mas gusto ko pa talaga ang diy dahil nagagawa ko ang nais ny isip ko… Salamat sa pag share nito ma
Ang galing mo momsh,very creative,thank you for sharing ❤️
Ang cute nmn Ng diy na frozen theme na to.
And ang cute din ni baby gurl sa dress Nia.
Wow super creative at ang ganda ng DIY photo frame thank you for sharing mommy
Wow,this theme is so cute. You’re so creative!
Wow ang nice naman po ng cardboard frame napaka creative nyo po Mommy. Simple celebration at home is the best.?
Helpful ito sa momshies na may kids! Patok na patok parin si Frozen hanggang ngayon! hehe 🙂 Good job sa DIY!
I didn’t even know it was possible to DIY that. I’m sure your girl had fun.
This is super creative will definitely going to check out this shop for sure. Thanks for recommending this place.
Oh my goodness this is absolutely adorable, thanks for sharing!
This looks so adorable!!
How cute is this?! I hope my toddler gets into Frozen soon. Love it!
What a fun birthday celebration! Happy belated birthday to your sweet girl!
This is such a great idea! I love it and I also love how gorgeous that Frozen cake is.
I loved everything about this! Super cute! Especially her dress and the cupcakes 🙂
Themed birthday parties are the best and looks like Venice had an amazing one! The cake looks super cute and delicious too!
What a fun and super cute theme for a party! She is such a cutie in her frozen dress!
Kileen
cute & little
I see the Frozen fans here. So neat to see how people celebrate it with Disney characters.
I’m sure your daughter loved her birthday theme, all girls adore Elsa and Anna